Last Updated: February 19, 2026
T-shirt is one of the most popular clothing items worldwide. It is simple, versatile, and worn by people of all ages. But have you ever wondered how a plain piece of fabric turns into a stylish T-shirt? T-shirt manufacturing is a fascinating blend of creativity, technology, and precision. In this article, I will break down the entire T-shirt manufacturing process, step by step.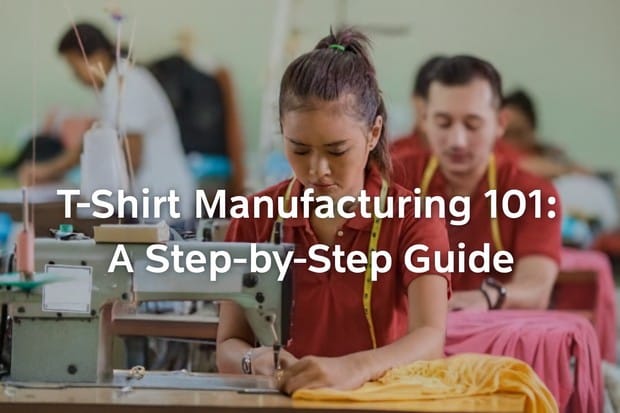
Step 1: Design and Pattern Making
The first step in T-shirt manufacturing is designing. Designers create sketches and digital mockups, deciding on the style, fit, and size. Normally they use software like Adobe Illustrator or CLO 3D to sketch graphics, choose colors, and create digital mockups. This stage ensures that the T-shirt will meet both fashion trends and customer preferences. In a garment factory, this design step is closely coordinated with production teams to ensure feasibility.
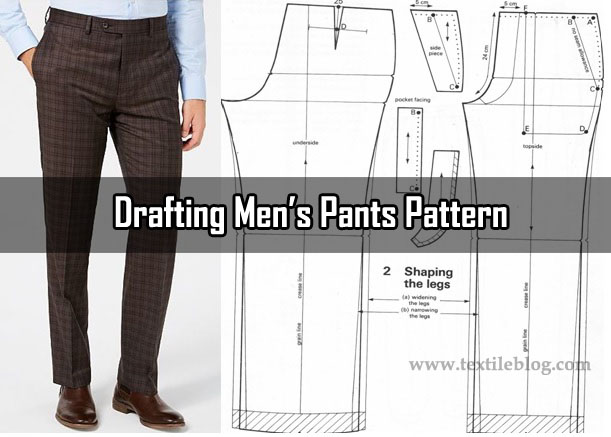
Next comes pattern making. Once the design is finalized, a pattern is created. This involves drafting a flat template of the T-shirt’s pieces: front, back, sleeves, and collar. Patterns account for sizes (S to XXL) and fit styles like slim, regular, or oversized. Skilled pattern makers ensure the design translates perfectly to fabric, minimizing waste. Pro tip: Use grading software to scale patterns across sizes automatically.
Step 2: Fabric Selection and Sourcing
Fabric selection is crucial. Fabric choice defines comfort, durability, and cost. Most T-shirts are made from cotton, polyester, or blends of both. Cotton fabric is soft, breathable, and comfortable, while polyester adds durability and reduces shrinkage. Some manufacturers also use organic or sustainable fabrics for eco-friendly products.
Source fabric from mills in places like Bangladesh, China, or India. Test for quality: check GSM (grams per square meter) for weight – 150-180 GSM works for standard tees.
Step 3: Fabric Preparation and Cutting
Raw fabric arrives in rolls. First, it’s pre-treated: washed, singed (to remove fuzz), and dyed or printed. Digital printing (DTG) adds vibrant designs directly on fabric, while screen printing prep happens later.
The fabric rolls are spread out and cut into specific shapes for the T-shirt body, sleeves, and neckline. This step is often done with precision cutting machines to reduce fabric waste and maintain consistent sizes. Markers optimize layouts to cut waste by 5-10%. Numbered labels keep pieces organized by size and style.
Step 4: Sewing and Assembly
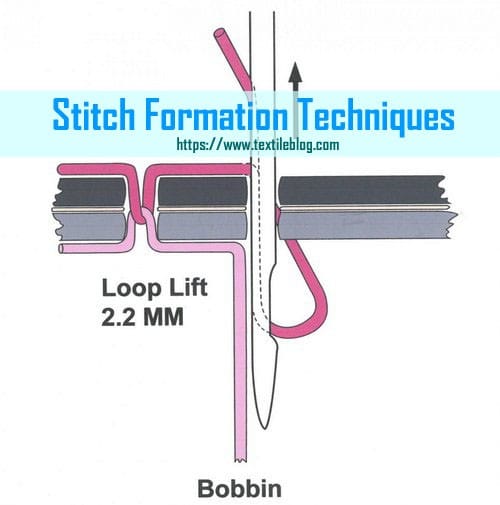
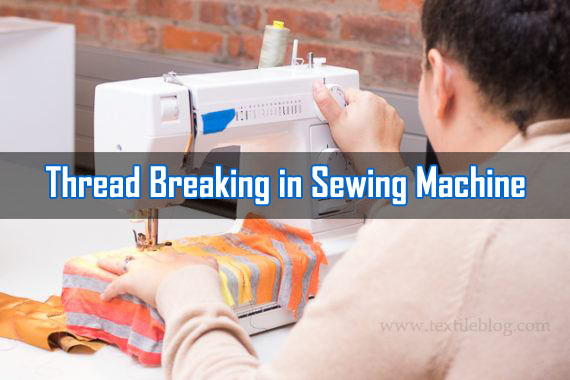
The cut pieces are sewn together using industrial sewing machines. Workers or automated machines stitch the shoulder seams, attach sleeves, and sew the side seams. The neckline is reinforced with ribbed fabric or stitching to prevent stretching.
Step 5: Printing and Embellishments
If the T-shirt includes graphics, logos, or designs, printing is done at this stage. Common methods include screen printing, heat transfer, and embroidery. Proper printing ensures the design lasts through multiple washes.
Step 6: Quality Control and Finishing Touches
Before packaging, each T-shirt undergoes a quality check. Quality inspectors look for stitching errors, color consistency, fabric defects, and correct sizing. This ensures customers receive high-quality products. The shirts are then steamed or pressed to remove wrinkles.
Step 7: Packaging and Distribution
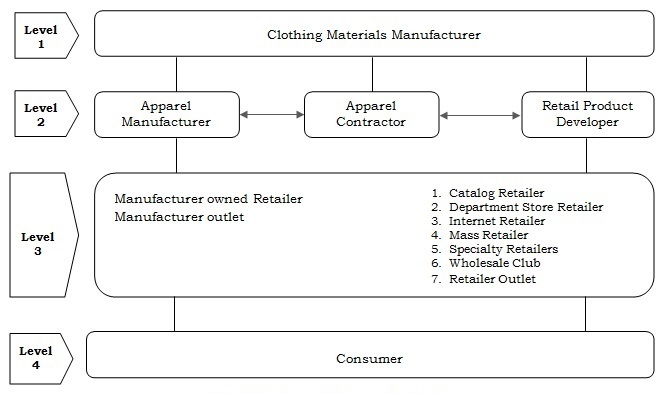
Finally, the T-shirts are folded, packed, and labeled. They are then shipped to retail stores or directly to customers. Proper packaging protects the T-shirts during transportation and makes them ready for sale.
Conclusion
T-shirt manufacturing is a complex process that combines design, technology, and craftsmanship. From selecting the right fabric to sewing, printing, and packaging, every step plays a vital role in producing a high-quality T-shirt. Understanding this process gives you a deeper appreciation of a simple clothing item we wear every day.