Last Updated on 03/03/2025 by textileblog
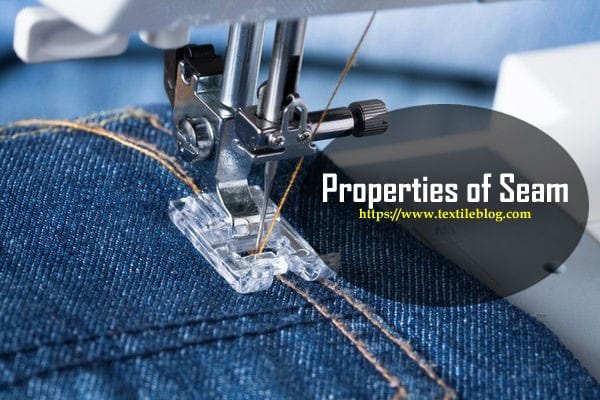
What is Seam and Seam Strength?
Seam is created by sewing two pieces of fabric together. It is a method of joining two or more pieces of materials together by a row of stitching. Ready-made-garment seams have utility as well as aesthetic value, and certain characteristics are necessary for the seams such as strength, elasticity, durability, security and appearance. It is a basic construction method for any project in fabric. Seam can be generating by hand sewing and machine sewing. It can also be created with fusion through chemical bonding. Seam of machine sewing will be stronger than hand sewing seam. There are different types of seam. But basically they are straight seams, enclosed seams, shaped seams and darts etc. In this article I will discuss about seam strength and its causes of failure.
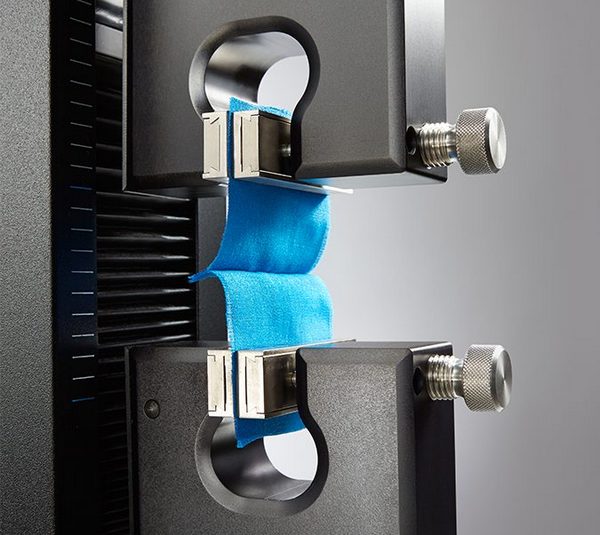
Generally we know that seam strength is the strength of seam assembly in a garment. Actually seam strength depends on seam type, the stitch type, stitch density, fabric strength, thread strength, and the tension of thread which is applied in the seam. For some applications seam strength is a serious issue. In these applications sewn materials play a structural role, such as in large tents, climbing equipment, harnesses, restraint systems, inflatable boats, parachutes, sailboat sails, hot air balloons, ultra-light aircraft, tie-down systems, etc.
If you are designing or sewing items for mission critical use like most of the above items, you may want to seek the assistance of someone that specializes in seam engineering and structural applications of fabrics or sewn materials. Some of the larger premium thread suppliers have people on their staff that specialize in seam engineering and also may have technical papers that you can download from their web sites. There are also books devoted to seam engineering in sewn products.
Factors of Seam Strength:
- Fabric properties – material type, weight, density, weave, strength, abrasion resistance.
- Thread properties – material type, weight, density, plies, strength, abrasion resistance.
- Seam construction – how many layers of fabric are in the seam and how they are folded.
- Stitch type, stitch length, thread tension – also thread handling of the machine and the needle effect the seam strength.
Design, testing, inspection, analysis, modification, more testing, more inspection, more analysis, redesign – In other words seam engineering is more complicated then it would first appear because there are so many interacting parameters involved. Plenty of testing makes sure that nothing is overlooked or taken for granted and that you can identify and solve any problems.
Optimization and sweet spots: A sweet spot is a size or value that gives maximum performance (also known as an optimum value). Optimization is the process of finding sweat spots. For example lets find the sweet spot for stitch length that gives maximum strength.
- Start with a medium value – In this case we will start with a medium stitch length for the fabric and thread size we are using, say 2mm.
- Sew a test seam with the stitch length set to 2mm and also sew two more test seams with the stitch length set somewhat shorter and longer, say 1.5mm and 2.5mm.
- Test the seam strength of the three test seams by trying to pull them apart. Make a note of which one is the strongest.
- If the strongest seam is the middle value (2mm stitch length) then you have hit the sweet spot on the first try!
- If the strongest seam is the 2.5mm stitch length, then you may want to re-test with a stitch length of 3mm. If the 2.5mm stitch length is the strongest then that is your sweet spot, if not then test at 3.5mm and so on until you are sure you have found the sweet spot.
Optimization can be used for any parameter including stitch length, stitch width, thread size, fabric weight, stitch type, etc. For regular sewing projects doing optimization is overkill, but if you are working on applications in which sewn materials play a structural role then optimization and extensive testing is mandatory.
Safety factor: For projects in which sewn materials play a structural role always be sure to design in a safety factor. For example if you are sewing and testing a harness that needs to support a 100 pound working load then you must design and test for a load that is substantially higher than 100 pounds, say 300 pounds. This gives a safety margin to counteract factors that can detract from the strength of the item over time, such as wear and tear, washing, UV light exposure, etc.
Seam Failure Causes:
Fabric weave slippage:
- In this case the fabric weave is pulled apart by the stitches, but the fabric is not actually tearing.
- To fix this you can increase the seam allowance, decrease the stitch length, change the fabric (weave) orientation or change the seam construction.
- Ways you can change the seam construction are to fold the seam into add additional layers or to sew in some type of reinforcement like bias tape.
- Changing the fabric orientation may help by preventing the weave from separating, but be careful that you don’t eliminate the problem in one area only to cause it to move to another place.
Fabric failure:
- In this case the stitches are tearing out of the fabric, but the stitch thread is not breaking.
- Make sure your fabric is OK. Rotting, degraded or substandard fabric is a common problem.
- Try changing the stitch type, changing the seam type, increasing the stitch length, using a heavier fabric, using a stronger type of fabric.
- Make sure that the needle is not damaging the fabric because it is damaged or blunt or because the stitch length is too short. Also make sure the needle is the correct size, an overly large needle can damage the fabric.
Thread breakage:
- In this case the fabric is OK, but the thread from the seam is breaking.
- Make sure your thread is OK. Rotting, degraded or substandard thread is a common problem.
- Try decreasing the stitch length, increasing the weight of the thread, using a stronger thread type, changing the stitch type.
- Check to see if your needle is OK and is the correct size and type.
- Check the thread tension and thread path for anything that could be damaging the thread.
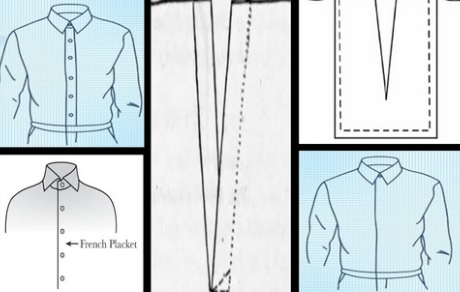
You may also like: Various Types and Classes of Seams Used in Sewing
References:
- The Sewing Machine Master Guide: From Basic to Expert by Clifford L. Blodget
- How to Use a Sewing Machine: A Beginner’s Manual by Marie Clayton
- Garment Manufacturing Technology Edited by Rajkishore Nayak and Rajiv Padhye