Last Updated: February 26, 2025
What is Stencil Printing?
Stencil printing is a technique of printing where a stencil, which is a template with a pattern or design, is placed over a fabric surface. Ink or paint is then applied through the openings in the stencil, creating a printed image on the underlying surface. It is commonly used in art, design, and manufacturing for creating repeated patterns, logos, signage, or labeling products. Stencil printing allows for accurate and efficient replication of designs on various surfaces. With stencils, you can print the same image as many times as you like. Among their many advantages, stencils have a wonderful way of simplifying an image by using both negative and positive spaces to their fullest. Stencil printing could be compared with screen printing in that only your design will be visible and a different material will be used to block out the areas which you do not want to be seen.
Step by Step Stencil Printing Process:
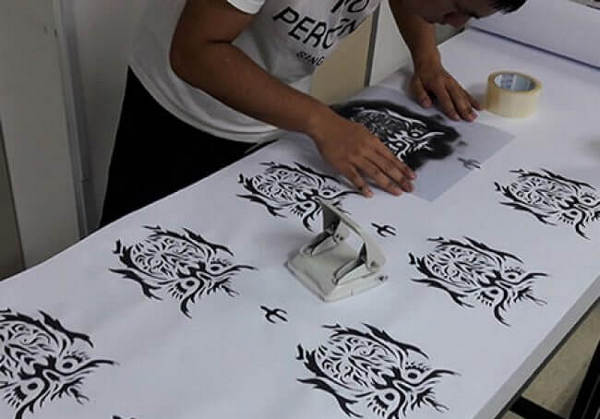
The art of stencilling is not new. It has been applied to the decoration of textile fabrics from time immemorial by the Japanese. In stencil printing, the design is first cut in cardboard, wood or metal. The stencils may have fine delicate designs or large spaces through which color is applied on the fabric. The pattern is cut out of a sheet of stout paper or thin metal with a sharp-pointed knife, the uncut portions representing the part that is to be reserved or left uncolored. The sheet is now laid on the material to be decorated and the color is brushed through its interstices.
The peculiarity of stencilled patterns is that they have to be held together by ties, that is to say, certain parts of them have to be left uncut so as to connect them with each other and prevent them from falling apart in separate pieces. For instance, a complete circle cannot be cut without its center dropping out, and consequently, its outline has to be interrupted at convenient points by ties or uncut portions.
Step by step stencil printing process is described below:
1. Design Creation:
Begin by creating or selecting a design that you want to print using a stencil. This design can be anything from text to an image or a combination of both.
2. Stencil Preparation:
Prepare a stencil material such as acetate, Mylar, or a specialized stencil paper. Ensure that the stencil material is clean and free from any dust or debris.
3. Cutting the Stencil:
Use a cutting tool, such as a craft knife or a laser cutter, to carefully cut out the design from the stencil material. Take your time to ensure precise and clean cuts.
4. Surface Preparation:
Prepare the surface onto which you want to apply the stencil design. This may involve cleaning the surface, applying a base coat or primer, or any other necessary preparation steps depending on the material and desired outcome.
5. Securing the Stencil:
Place the stencil onto the prepared surface and secure it in place using tape, adhesive, or any other suitable method. Make sure the stencil is aligned correctly and firmly attached to prevent any shifting during the printing process.
6. Ink Application:
Apply ink or paint to the stencil using a brush, roller, or a specialized screen printing tool. Spread the ink evenly over the stencil, ensuring that the entire design area is covered.
7. Printing Technique:
Depending on the desired effect, you can use various printing techniques such as screen printing, block printing, or sponge dabbing to transfer the ink from the stencil onto the surface. Follow the specific instructions for your chosen technique.
8. Removing the Stencil:
Carefully remove the stencil from the surface while the ink is still wet. Take your time to prevent smudging or smearing the printed design.
9. Drying and Finishing:
Allow the printed design to dry completely. The drying time may vary depending on the type of ink or paint used. Once dry, you can further enhance the design by adding additional layers, colours, or details if desired.
10. Clean Up:
Clean your stencil, tools, and work area promptly to maintain their longevity and prevent any unwanted transfer of ink or paint. Dispose of any waste materials properly according to local regulations.
Application or Uses of Stencil Printing:
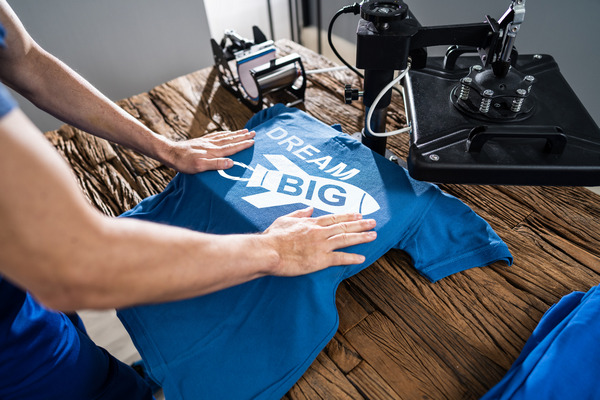
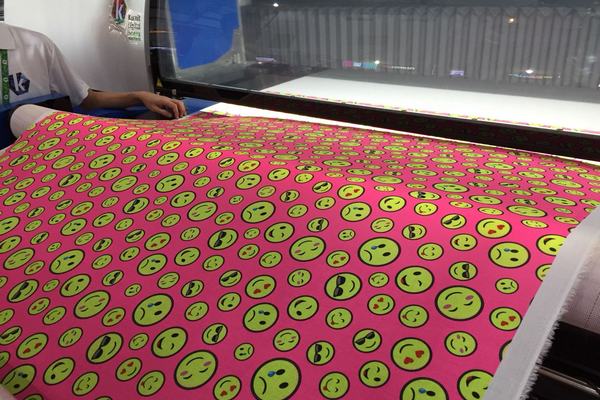
Stencil printing, also known as screen printing, is widely used in the textile industry for printing designs on fabrics, such as t-shirts, hoodies, curtains, banners etc. Uses of stencil printing is given below.
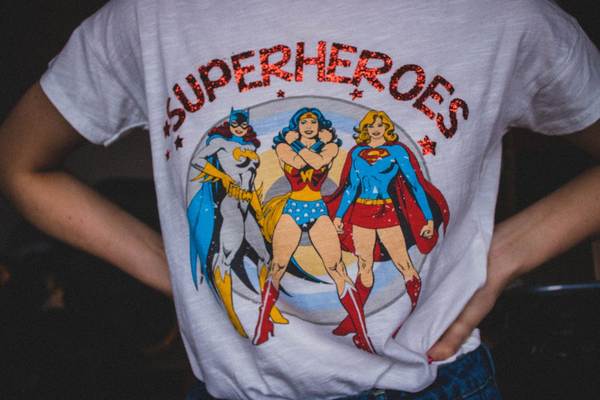
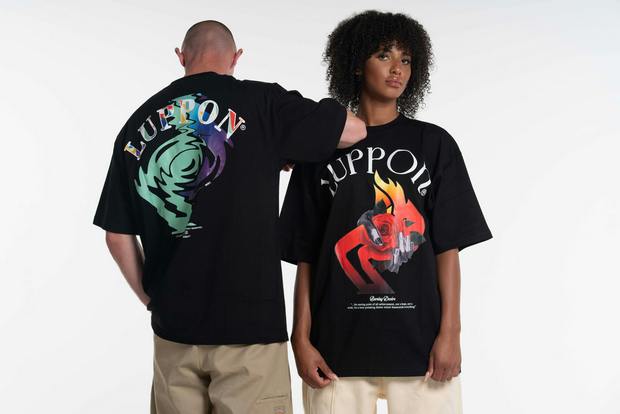
- Printing designs on t-shirts, tank tops, and sweatshirts
- Printing patterns on fabrics for curtains and drapes
- Creating unique designs on fabric for upholstery
- Printing logos and branding elements on garments
- Applying intricate designs on fabric for fashion accessories like scarves and handbags
- Printing patterns on fabric for home decor items such as pillows and tablecloths
- Producing vibrant designs on fabric for banners and flags
- Customizing sports jerseys and team uniforms
- Printing patterns and designs on fabric for costumes and theatrical productions
- Creating textile art pieces with unique designs and patterns.
References:
- Handbook of Value Addition Processes for Fabrics By B. Purushothama
- Textile Printing (Revised Second Edition) Edited by Leslie W C Miles
- Ink Jet Textile Printing Edited by Christina Cie
You may also like:
- Types of Printing in Textile Industry with Advantages and Disadvantages
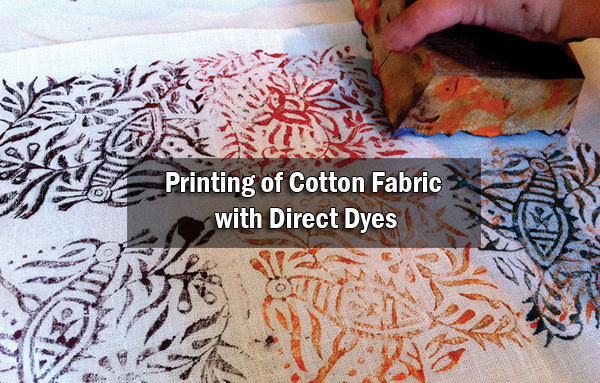
- Study on Printing of Cotton Fabric with Direct Dyes
- Application of Automation in Textile Printing and Finishing
- 9 Unique Ideas for Custom T-Shirt Printing